Iceland Backpacking Guide – 1 Week ($1500 Flights Included)
When I first started travelling, I never imagined myself going to Iceland. As a summer-lovin’ gal with no intentions of visiting a cold country during the winter, I kind of surprised myself when I decided a week prior to book a trip to Iceland. Not only that but Iceland as a country surprised me as well. I didn’t know much about the country but I think that can sometimes be the best way to travel and explore the unknown! So let’s get into my one week Iceland backpacking guide …
BUDGETÂ
I went to Iceland in 2017 while I was finishing my fourth year of English and Communication Studies at McMaster University. So as you can imagine, I was pretty darn poor. While that was the case, I didn’t let it stop me from booking last minute flights and accommodation. Read on to see how I managed to spend under $1500 CAD for the week, including flights! Â
1. FlexibilityÂ
In order to keep costs down for a trip to Iceland, having flexibility with your travel dates is key. At the time I flew with a budget airline known as WOW Air from Toronto (YYZ) and flew out at the very beginning of February for around $600 CAD roundtrip. At the moment, the prices are still around the same for that time of year even though WOW Air is no longer in business.Â
Being flexible with my dates allowed me to choose the cheapest flights. Had I gone in January or March, I would’ve spent a lot more. It’s all about researching the cheapest times to fly (although I didn’t do that for this impromptu trip and lucked out!) and finding a time that works with your schedule. I personally use Google Flights to check prices and dates because I find it the most user-friendly. Sometimes I’ll dabble on SkyScanner as well, depending on the day.
2. FoodÂ
Before hopping on a flight to Reykjavik, I did a little research and came to discover the shocking truth about the price of food in Iceland. Knowing that everything would be expensive, I stuck to making my own food in hostels after buying groceries at the local store.
This is where I also first noted that taking advantage of the ‘free food’ area in hostels can come in clutch! Most hostels have a section in the kitchen where people leave behind non-perishable items such as pasta and other canned/dry goods. Always check there first before heading to the store and you can save quite a bit.
3. AccommodationÂ
Knowing that Iceland was going to be expensive, I found the cheapest hostel I could get my hands on! After doing a recent search you can find dorm rooms from anywhere between $23-32 CAD depending on your dates. Hostels aren’t glamorous but they can get the job done for $192.50 CAD on average for the week!Â
Interestingly, Iceland ended up being my first solo travel experience. I had a super unusual and somewhat scary experience at the hostel I stayed at (but don’t let that stop you from staying in hostels)! You can read my hostel horror stories in more detail here.
4. ActivitiesÂ
If you’re on a tight budget like I was, you’ll need to pick and choose certain activities, as most of them come with a pretty hefty price tag. From a spa day at the Blue Lagoon to ice cave tours, things can start adding up pretty quickly! Read my 1 week guide below to see the activities I went with in order to have a budget-friendly trip.
1 WEEK GUIDEÂ
DAY 1 – ARRIVE IN REYKJAVIKÂ
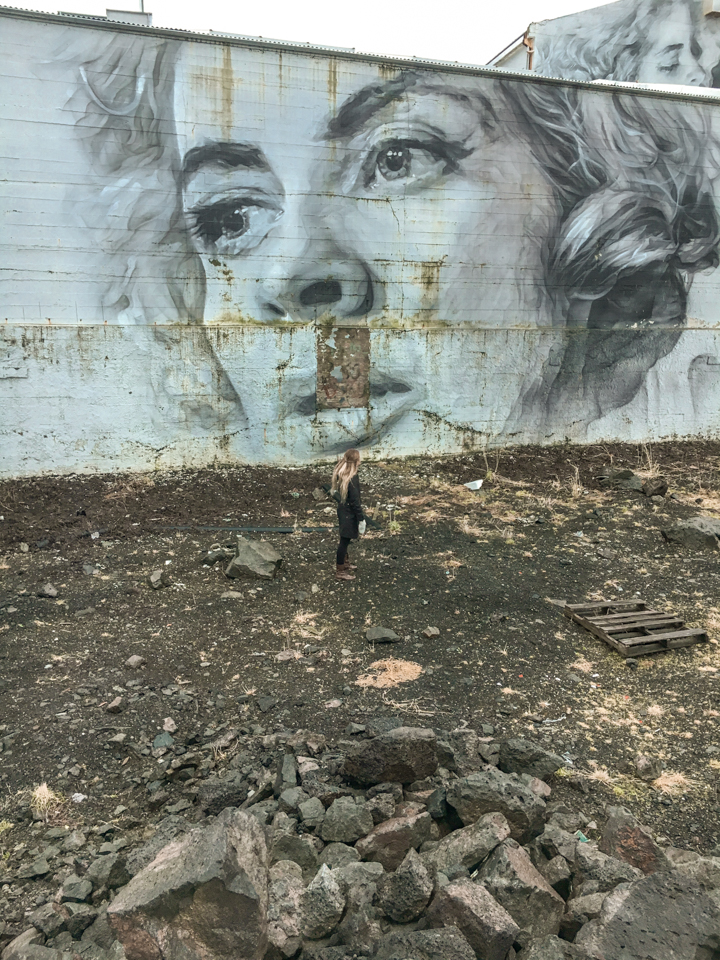
Spend your first day in Iceland settling into your hostel, making friends and taking a gander around the city of Reykjavik!
DAY 2Â – REYKJAVIKÂ
You may find that one day in Reykjavik is enough as it’s a small city. If you happen to have extra time and aren’t sure how to spend it, here’s a few things you can check out!
- Penis Museum – More formally known as the Icelandic Phallological Museum, this is sure to interest non-museum goers. I can’t recall or seem to find the exact price for entry but I remember it being no more than $20 CAD.
- Hallgrimskirkja city view – This chapel offers the best view of the city hands down. No need to worry about missing it because you can spot it from anywhere in Reykjavik! It will only set you back a few dollars to get up to the top.
- Street Art – To my surprise, Reykjavik was covered in street art. No matter where you turn, you’re sure to come across unique art on the side of buildings!
- Walk by the water – Iceland is in the middle of the Atlantic Ocean and Reykjavik gets the best views. There’s also a lake in the middle of the city centre called Lake Tjornin and walking distance from most hostels.
DAY 3 – REKJADALUR HOT SPRINGS HIKEÂ
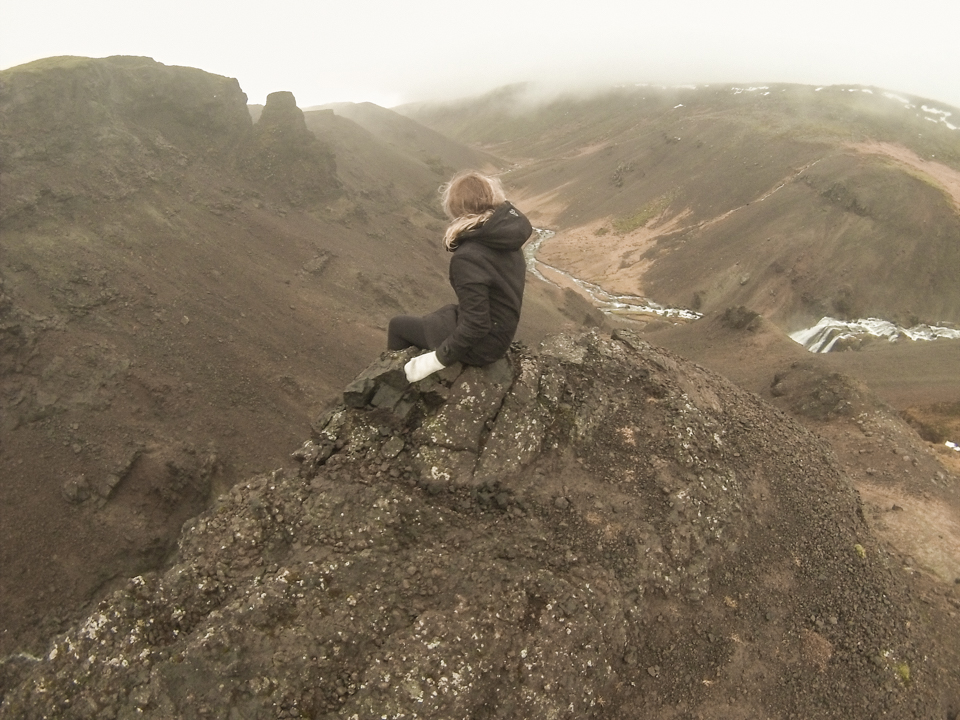
To get to this hike you’ll either need to rent a car or luck out like I did and go with someone who has a car! Sitting about a 45 minute drive from Reykjavik, this hike is a great day activity. The entire hike is under 4km and a pretty easy trek.
There are many spots where you can stop and get into the hot springs. Be sure not to mistake them with certain spots that are 100 degrees celsius where you’re sure to get scalded!
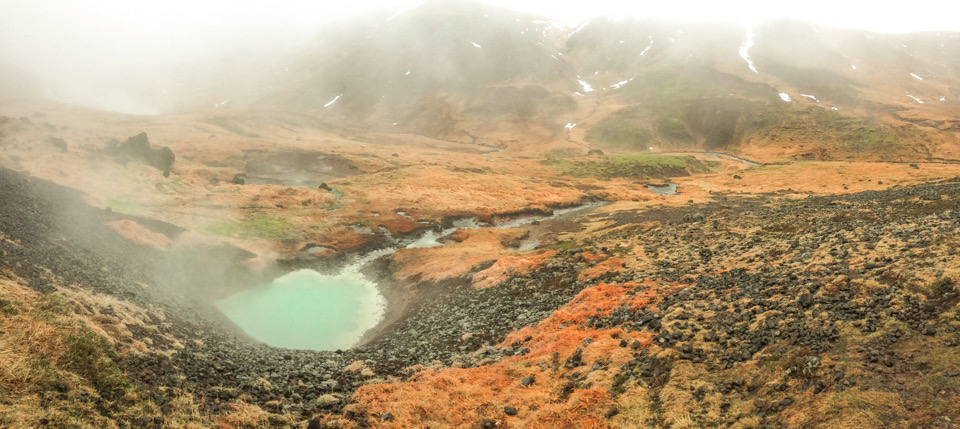
DAY 4 – GOLDEN CIRCLE / KERID CRATER
Reykjavik is filled with various tours to make your experience a lot easier in terms of planning. With that being said, most of them are unnecessary unless you are unable to rent a car with a friend or on your own!Â
If you aren’t yet familiar with the ‘Golden Circle’, it’s a well known tourist route consisting of the Geysir geothermal area, Gullfoss Waterfall and Thingvellir National Park. It can be done in half a day if you’re short on time but I recommend a full day to allow more time for exploring at Thingvellir National Park!
I decided to rent a car with a friend I had made at my hostel, which gave us more freedom at each location. A day long car rental cost us about $100 CAD ($50 pp). After doing some research I found rental cars that go for a lot cheaper here.
Geysir Geothermal Area:Â
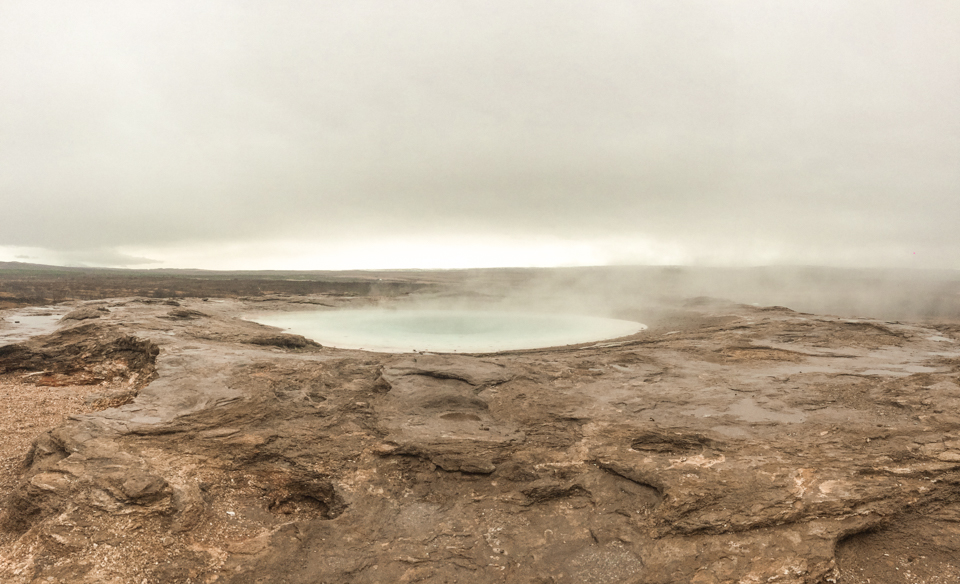
While this area has a few Geysirs, Strokkur is the main one you see erupting every few minutes! If you’ve never seen a Geysir before, it’s definitely worth the hype and worth waiting a few minutes to see.
Gullfoss Waterfall:
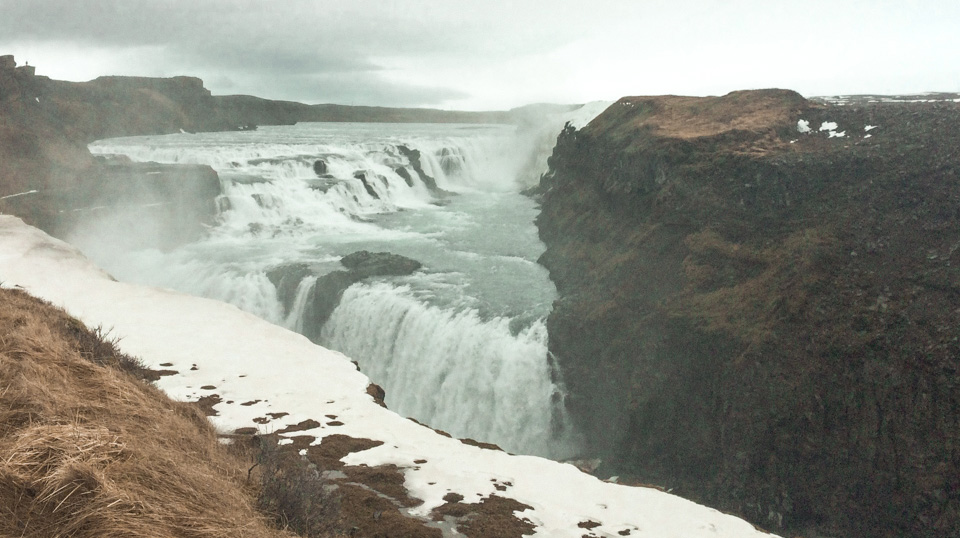
Gullfoss Waterfall while beautiful, was slightly underwhelming in my opinion. Maybe that’s because I’ve been to Niagara Falls one too many times in my day? Or maybe it’s because there’s no way to access the falls from up close.
Either way, it is beautiful – BUT if you want to skip out on it, I won’t be judging!
Thingvellir National Park:
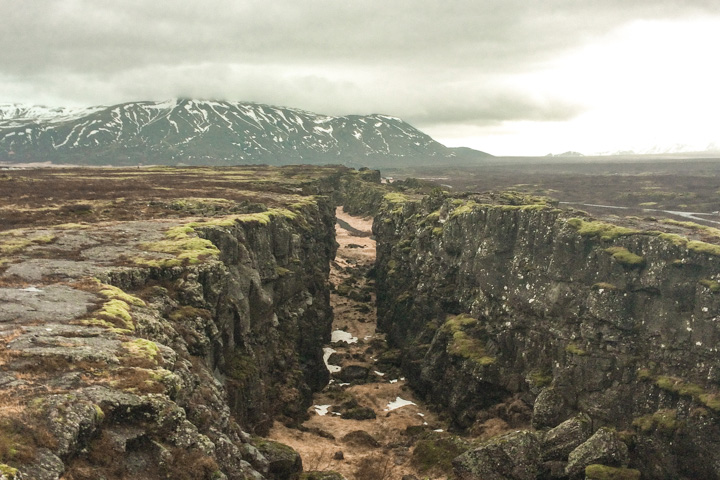
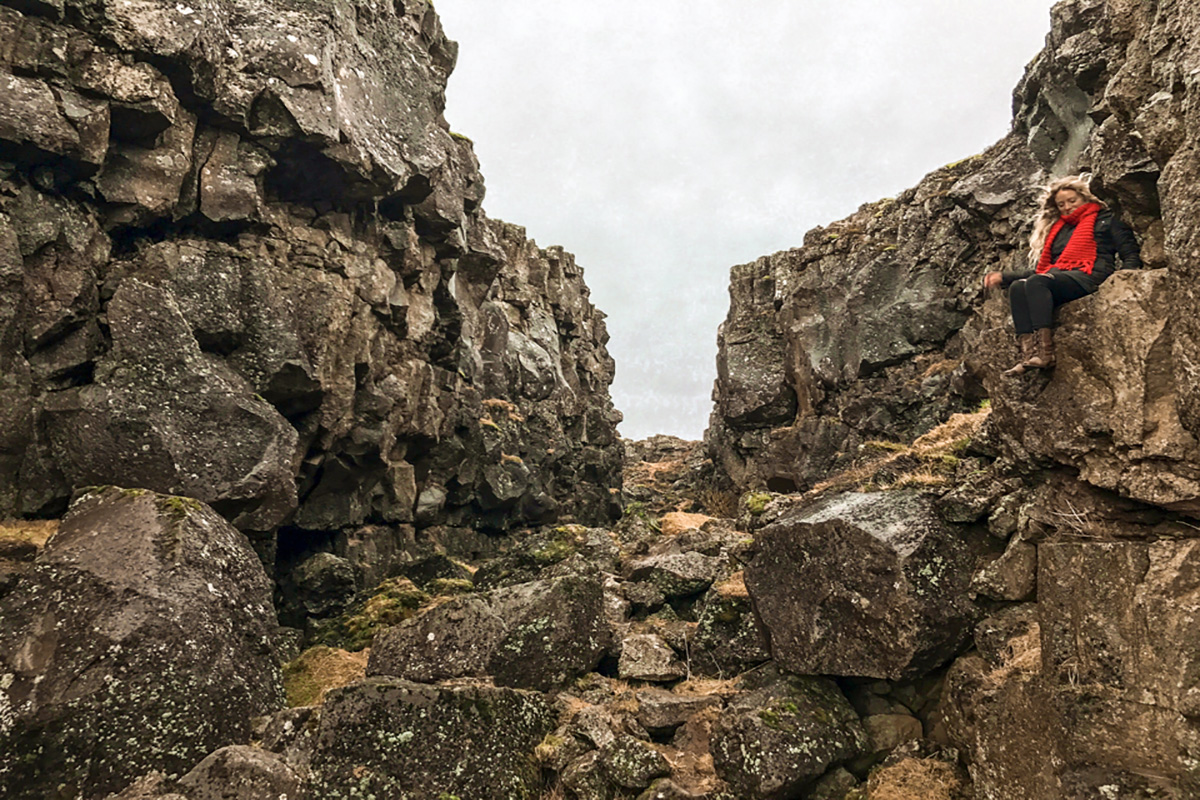
Thingvellir National Park was definitely a highlight of my Iceland backpacking trip! It sits between the North American and Eurasian tectonic plates, has waterfalls and a lot of beautiful nature to explore.
Kerid Crater
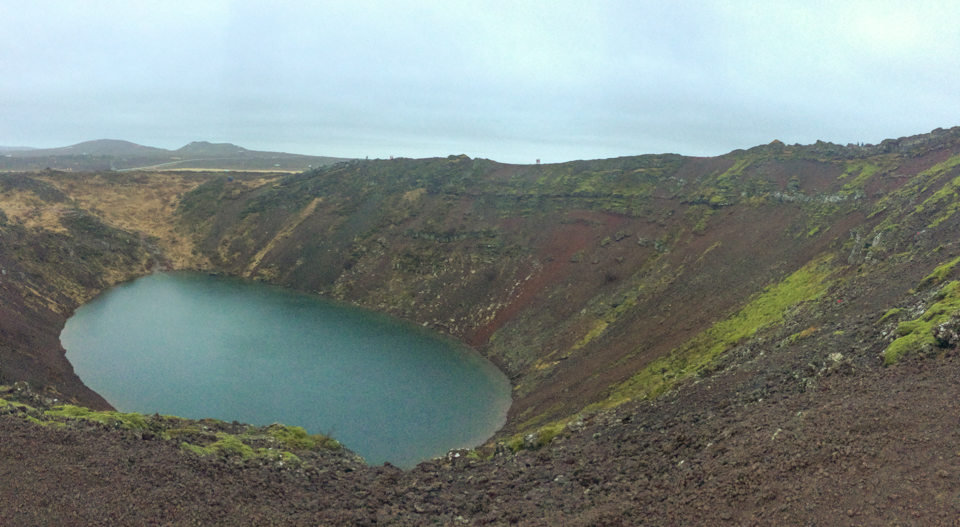
I also managed to fit Kerid Crater into the same day. It’s a volcanic crater lake along the Golden Circle. Theres a small entrance fee of a few dollars for the upkeep if you decide to go on your own!
DAY 5 – THE BLUE LAGOON & NORTHERN LIGHTS


If you want to make it to the infamous geothermal spa, book it ahead of time!! Due to its popularity, the Blue Lagoon get booked up rather quickly. Since I planned my trip only a week before, there were no spots open during the day. I was able to get a spot at 7/8pm but wasn’t able to see the beautiful colour of the water very well – which I think is half of the experience. So if you are a tad bit more organized than yours truly, try to snag a spot in the early morning (when it will possibly be less busy and you could get better pictures) or sometime in daylight!Â
The Blue Lagoon pricing can be found here. The basic package starts at around $75 CAD.Â
In my humble opinion, an Iceland backpacking trip wouldn’t be complete without seeing the Northern Lights! Now keep in mind that having a chance to see this natural wonder depends on many factors:
- Time of year – You can see the Northern Lights in Iceland from End of August to mid-April each year but you have the best chance of seeing them between late September and late March because the nights are longest then!Â
- Weather conditions – A clear sky and as little cloud cover as possible gives you a better chance of seeing the lights.
- Solar activity – Without enough solar activity, you won’t be able to see the Northern Lights – even on the clearest of nights. You can find the solar forecast here for your best shot!
So after taking all of those factors into consideration, I’d recommend leaving a few nights open for a trip to see the Northern Lights. Depending on the conditions, you may not see them the first time you try, so it’s best to have other nights available in case that happens!Â
You can definitely see the Northern Lights on your own if you have access to a car but if that’s not the case, a tour will set you back around $65 CAD for 3.5 hours if booked ahead of time.Â
DAY 6 – EXPLORE WATERFALLS
When in doubt, drive to explore some more waterfalls in the area! Iceland backpacking can be made a lot more affordable by simply doing outdoor activities. Nature is most often free (or cheap) and with over 30 waterfalls in Iceland, you surely won’t get bored!
DAY 7 – SOUTH ICELAND TOUR
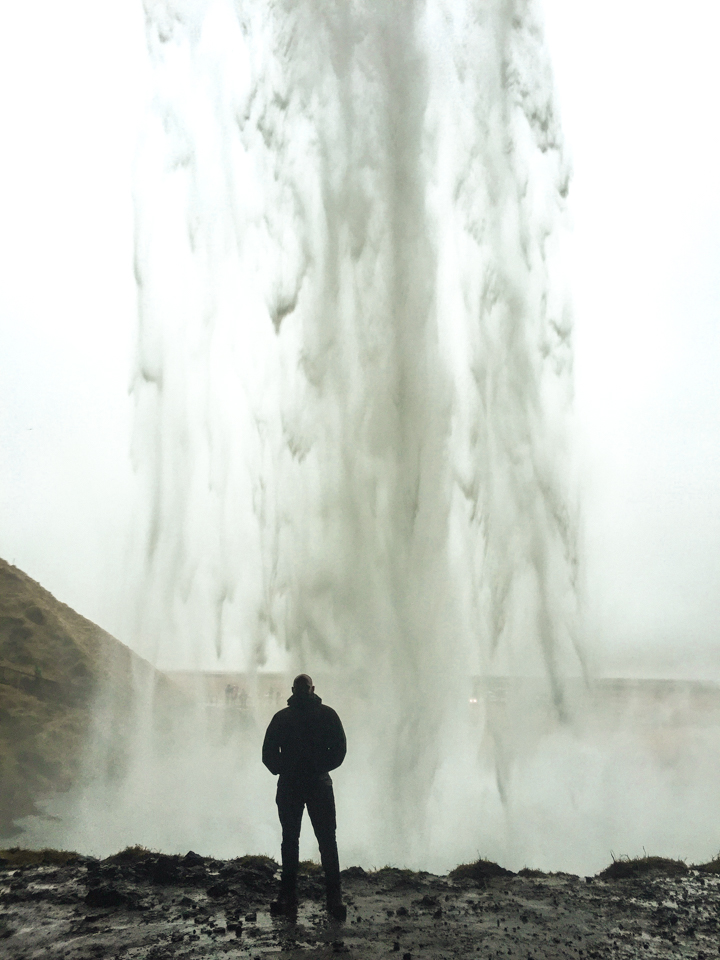
The south part of Iceland is absolutely stunning. With black sand beaches and many waterfalls, it’s a must see. I can say this confidently after a friend I made in my hostel ended up going and showed me the picture above. It’s known as Seljalandsfoss and you can easily walk behind it as TONS of water falls before you. Come prepared with a raincoat or change of clothes to avoid leaving soaked! The south also offers a visit to the plane wreck near Skogafoss falls.
The only regret I have is not seeing the South of Iceland when I had the chance! There are day tours you can do for around $100 CAD a day but I sadly couldn’t fit it in my budget at the time.
Final Thoughts
As you can see, while Iceland backpacking may seem like a far fetched idea it CAN be affordable! If you have the chance to go, you should definitely take it. If you enjoyed this backpacking itinerary, you can find more of them here. As always, if you have any questions feel free to reach out to me on Instagram!
Cheers,
Amy xx



6 Comments